Bike maintenance is essential if you want your bike to last. Unfortunately, the chain is one of the most common bicycle components that must be replaced. But how do you replace a bicycle chain?
In this article, you will learn about bike chains, the tools needed to replace them, and the steps to replace bike chains.
Determine whether your chain is connected with a pin or a quick link. You can remove the chain using your hands if you have a fast link. However, when resizing your chain, you can only do so with the help of a chain tool.
What is a bike chain?
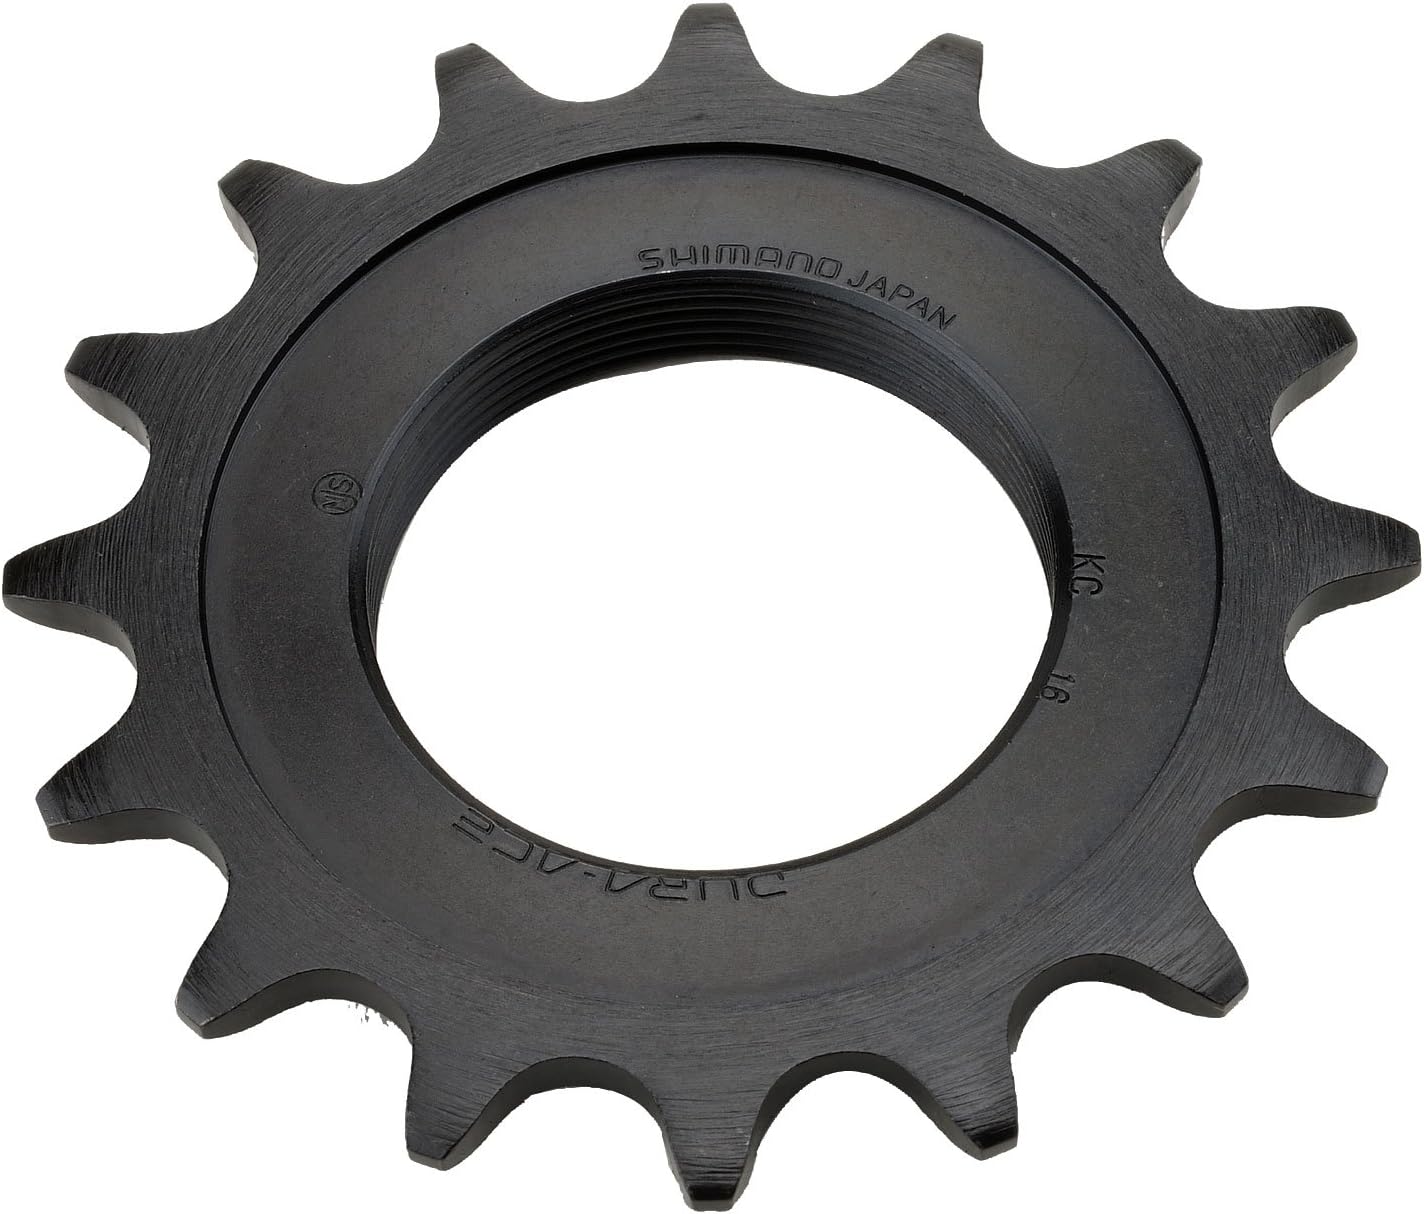
A bike chain is a component that connects a bicycle’s back wheel to the powertrain. It’s usually metal and features a ratchet mechanism that lets you tighten or loosen it. The chain connects the sprocket on the rear wheel to the bike’s hub, allowing it to be pedaled.

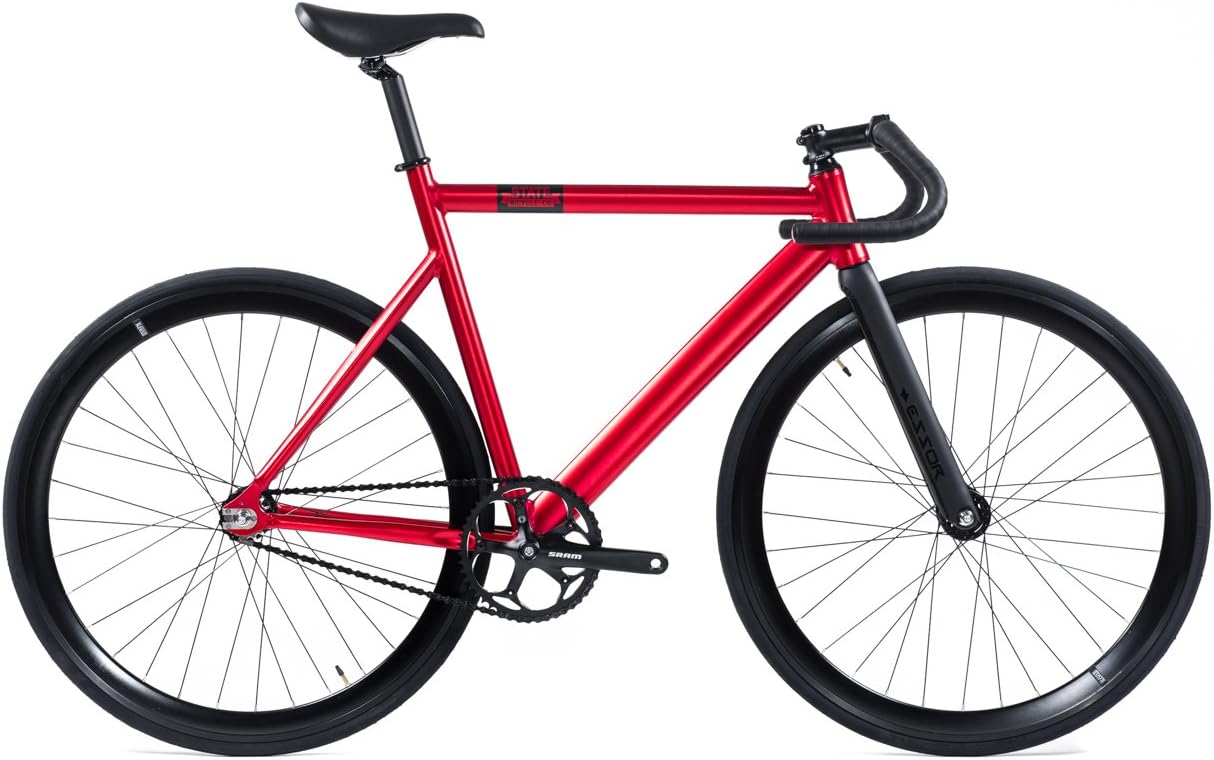
State Bicycle Co. Black Label 6061

State Bicycle Co. Black Label 6061
When should I replace the chain on my bike?
The life of your drivetrain may be extended by replacing the chain on a regular basis. Depending on how often you ride, most technicians recommend replacing your chain every 2,000 or 3,000 miles.
Reasons you should replace your bike chain
Here’s five reasons you should get a new chain.
1. It’ll make you faster i the long run
According to Colorado-based research company Friction Facts’s Jason Smith, a chain that has been cleaned and properly lubricated can save about 10 watts compared to an old chain that has not been maintained. It accounts for about 4% of total power loss for the typical rider. After lubing the chain, you’ll feel more rested at the end of the ride because you used less energy.
2. You’ll save money
Keeping the chain clean has benefits beyond just cutting down on energy waste. In addition, you won’t have to worry about wasting any cash. Dirty old chains can shorten the lifespan of cogs and chainrings due to the gradual erosion caused by the dirt and grime.
3. It’s so easy to do
Replacing a chain is actually not that difficult. It’s a critical cycling skill that every cyclist should have in their back pocket.
4. You don’t have to do it (that) often
A new chain is recommended after 2,000 to 3,000 miles of riding, according to most experts. So, replace it now, and you wont haev to do it for a long time!
5. Old chains are gross
Let’s face it, your old bicycle chain is probably really greasy and dirty. And every time you pick up your bike or move it around manually, you risk getting your hands filthy with grease and grime. Enough of that. Let’s get a new bike chain.
How much does it cost to replace a chain on a bike?
How much does it cost to replace a bike chain? Entry-level chains can cost around $15.00, with more expensive and higher-performance chains costing between $25.00 and $60.00 or more. More costly chains improve shift quality and last longer as they wear.
What tools do you need to replace a bike chain?
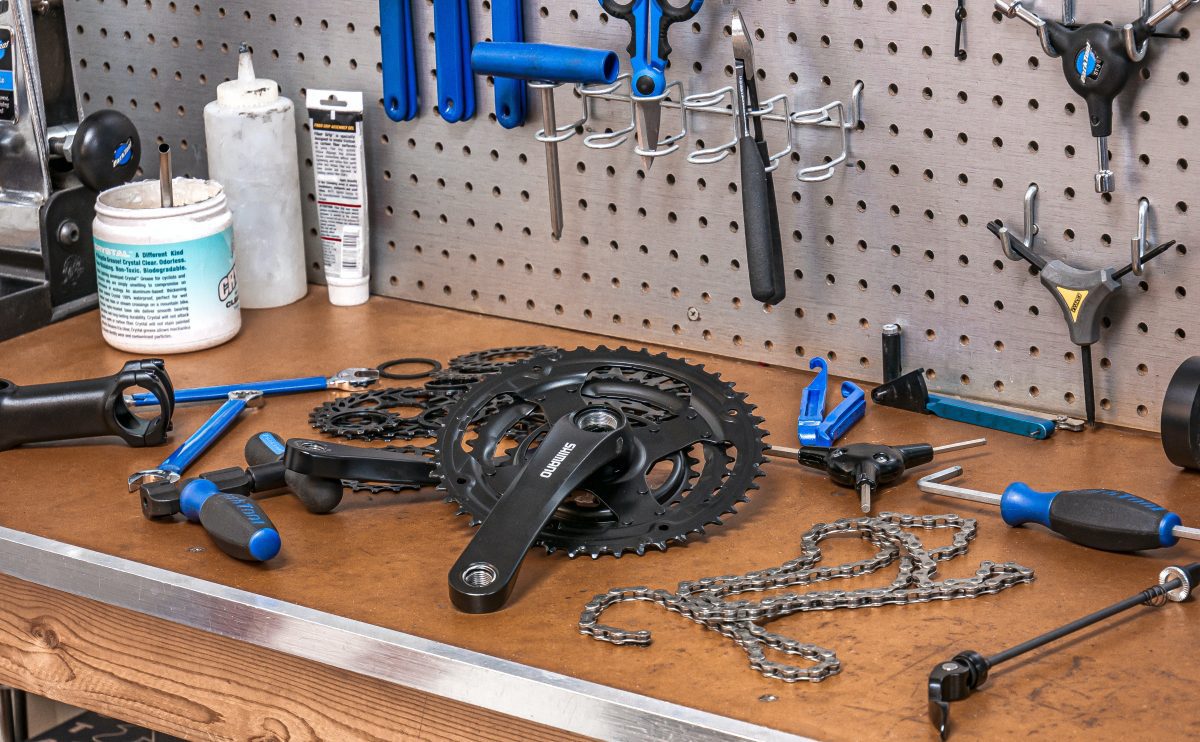
When it comes to chain replacement, there are a few essential tools that you’ll need. You’ll need either the MLP-1.2 Master Link Pliers for chains with fast links or the CT-3.2 Chain Tool for chains with connecting rivets, in addition to chain lubricant for lubricating the connecting rivets. Finally, remember to always wear safety gear when working on your bike. You will find all the above metioned tools below.
[azonpress template=”grid” asin=”B00D9NW32I,B07P4CCJYH,B002A5HJK2″]
Bike chains can wear out and need to be replaced over time. This guide will explain step-by-step how to replace a bike chain, making the operation as simple and painless as possible.
Remove the chain
Begin by releasing the axle nuts to relieve chain stress. Remove the C-clip and master link with needle-nose pliers. Then, take the chain off the bicycle. Some two-sprocket chains, like derailleur chains, may use a different type of master link. Using master link pliers such as the MLP-1.2, disengage this master link.
If you don’t notice a master link, your chain is held together by a connecting rivet. Connecting rivets will look different than the other rivets in your chain. To detach a connecting rivet chain, select a rivet several links away from the connecting rivet and use your chain tool to drive it out of the chain. Remove the chain tool from the chain, followed by the chain from your bike.
Check the length of your chain
Simply place the old chain next to the new chain on a work bench or table and match the rivets side by side to acquire the precise length. Break the chain to the same length as the original chain using the chain tool.
Install your chain
Lubricate the connection rivet with chain lube before joining your suitably sized and cut chain. Install the rivet from the inside of the bike, facing the mechanic. Insert the chain tool into the chain and drive the connecting rivet into the chain.
Once the connecting rivet’s protrusion equals that of the neighboring rivets, the connecting rivet is installed, and the pilot can be cut off using pliers or a chain tool. Pedal the bike and look for any tight links in the chain. If you come across a tight link, bend the chain laterally at that point.
Dont forget to add some light lubricatio to your new chain.
Check the chain tension
To check the tension on the chain, push the chain upward and downward in the middle. There should be approximately one half inch of movement in the chain up and down at a point halfway between the front and rear sprockets.
To change the tension, loosen one of the axle-nuts and move the wheel forward or backward slightly and snug it up again. Then, loosen the opposite axle-nut, adjust and tighten, making sure the wheel remains centered in the frame. Re-check tension. As a safety precaution only touch the outer perimeter of the chain.
Tools:
- Master link pliers
- Chain tool
- Eye protectin (optional)
The basic principles of chain maintenance
A few fundamental rules of chain maintenance should constantly be remembered. These principles include keeping the chain correctly oiled, checking and adjusting derailleur gears as needed, and regularly inspecting the drivetrain to ensure it is in good operating order. Following these tips, you can help maintain your bike’s functioning smoothly and safely.
If you want even more tips, watch this video called How to Replace a Chain on a Bike – Sizing & Installation from the Park Tool YouTube Channel.
Frequently asked questions (FAQ)
Here are some of the most commonly asked questions about replacing a bike chain.
What if I break my chain while replacing it?
If you break your chain while replacing it, be sure to take note of the manufacturing date and/or product code on the chain so that you can order a new one from the manufacturer. Also, be sure to file a warranty claim with the retailer where you purchased the chain.
What are some common bike chain replacement mistakes
Some common mistakes people make when replacing their bike chains are not following the proper chain replacement procedure, not properly tightening the new chain, and not checking the bike’s derailleur teeth for wear.
How often should I check my bike chain for wear and tear?
THis varies based on how often you ride, but a good rule of thumb is to check your chain once a month. It’s important to keep your bike chain in good condition by regularly checking it for wear and tear.
Does every bike have a master link?
Is there a master link in every chain? These master links are not present on all bikes. They’re most commonly seen on single-speed or three-speed town bikes with internal gears or on BMX bikes.
Conclusion
Replacing a bike chain is an important task that should not be taken lightly. By following the easy steps outlined in this blog, you’ll be able to replace your chain without any trouble. Make sure to read through the entire blog to get a thorough understanding of the chain replacement process. Then, go ahead and put these instructions into practice!
This article covered bike chains, the tools needed to replace them, and the steps to replace bike chains. Here are some key takeaways:
Key takeaways
- A bike chain is a gear that connects a bicycle’s back wheel to the powertrain.
- When it comes to chain replacement, there are a few essential tools that you’ll need.
- Bike chains can wear out and need to be replaced over time.
So, did we cover everything you wanted to know? Let us know in the comments section below (we read and reply to every comment). If you found this article helpful, check out our full blog for more tips and tricks on maintaining your bike. Thanks for reading, and stay fixed!


